Pin an image to the map#
Add a scan, a plan, or a screenshot, then drag, rotate, and fade it until it lines up with the basemap underneath.
An image overlay pins a picture to the map, so you can line up a scanned map, a floor plan, a site photo, or a screenshot from another system against real geography. It is how you compare something that is not geographic data against something that is.
To add one, click the plus button on the Overlays section header of the Layers panel. The picker accepts PNG, JPG, GIF, WebP, and BMP. The image lands filling the current map view, so it is easier to place if you zoom roughly to the target area first.

Line the image up#
Select the overlay and handles appear on the map. Drag a corner handle to resize the image, drag the body to move it, and drag the handle above it to rotate it.
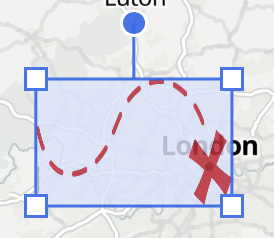
For precision, the inspector holds the same controls as numbers. Rotation (degrees) sets an absolute angle rather than turns the image by that much, so a value of 0 puts the image straight again whatever you did by hand. Opacity (percent) runs from 0 to 100 and starts at 80.
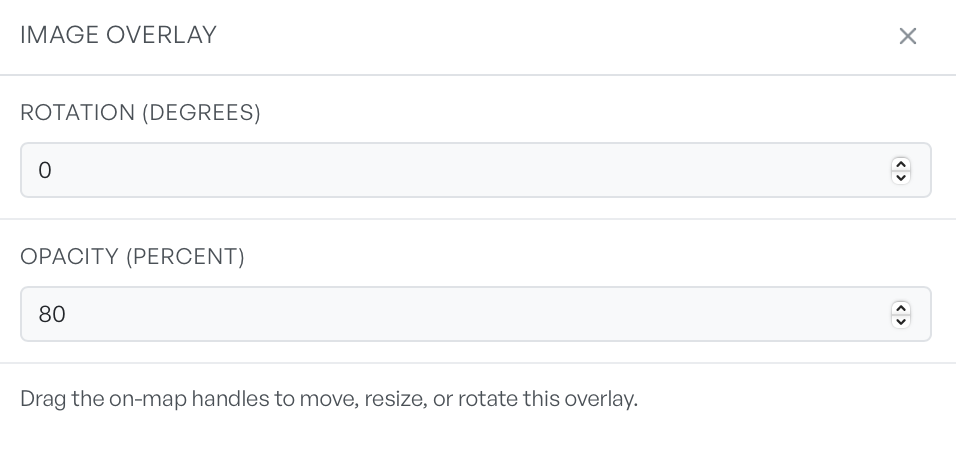
Both fields apply as you type. Enter commits the value, and Escape puts back what was there before.
Opacity is the control that does the real work of alignment. Drop the image to about half, and you can see the basemap through it. You can then match coastlines, roads, or buildings underneath rather than guess.
What overlays cannot do#
An image is a picture, not data. Overlay layers have no styling, labelling, or render mode controls. They contribute nothing to the attribute table, and you cannot select them feature by feature. The eye in the layer row hides an overlay, and the cross removes it.
If an overlay fails to add or to draw, a notification says so. The usual causes are an image file that Geo Map could not read, or a map that is not ready yet. In the second case, add the image again.